MEsuite User Guide
MEsuite work comes in two parts: setting up projects and teams, then creating, signing, and storing contracts in SignMe.
Project and admin
Logging in
Login is two steps: your email first, then whatever MEsuite asks for next. Go to app.mesuite.com.
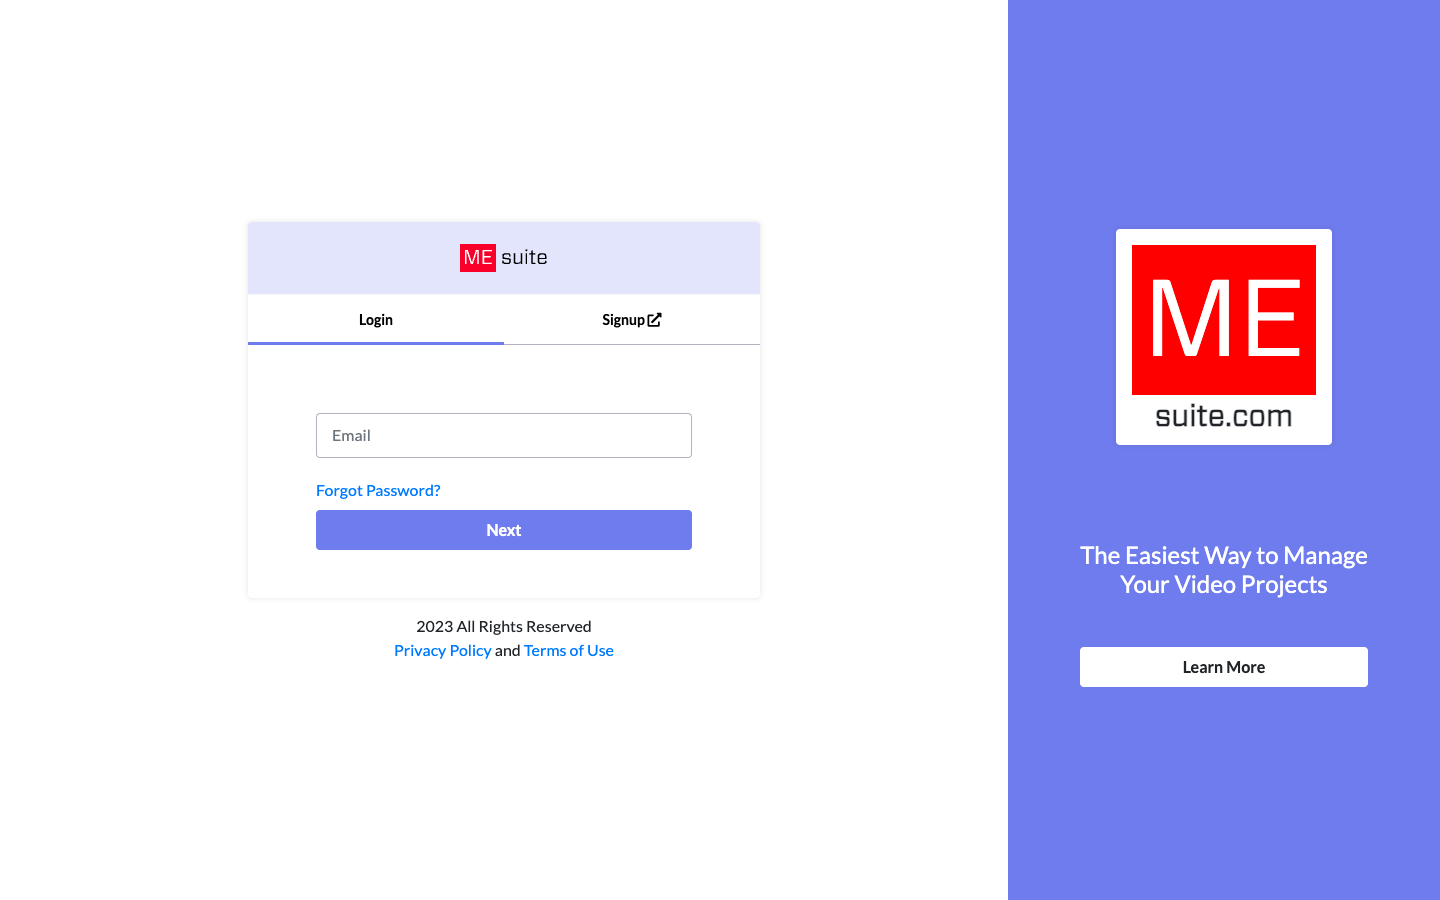
- Type your Email and click Next.
- Usually you'll see a Password box. Enter it and click Login.
- Sometimes it asks for a code instead. Check your email for it:
- MFA Code: your company turned on two-step login.
- Verification Code: your email hasn't been confirmed yet.
- Password, Confirm Password, and MFA Code: your account locked after too many wrong tries. Choose a new password and click Submit.
Forgot your password? Click Forgot Password?, enter your email, then enter a new password and the code from the email.
Invited by a teammate? Click the link in your invite email, choose a password, click Set Password, add your name, title, and phone, tick both boxes, and click Join.
Creating a project
Make one project per show or season. Contracts, signed documents, and the team all live inside it.
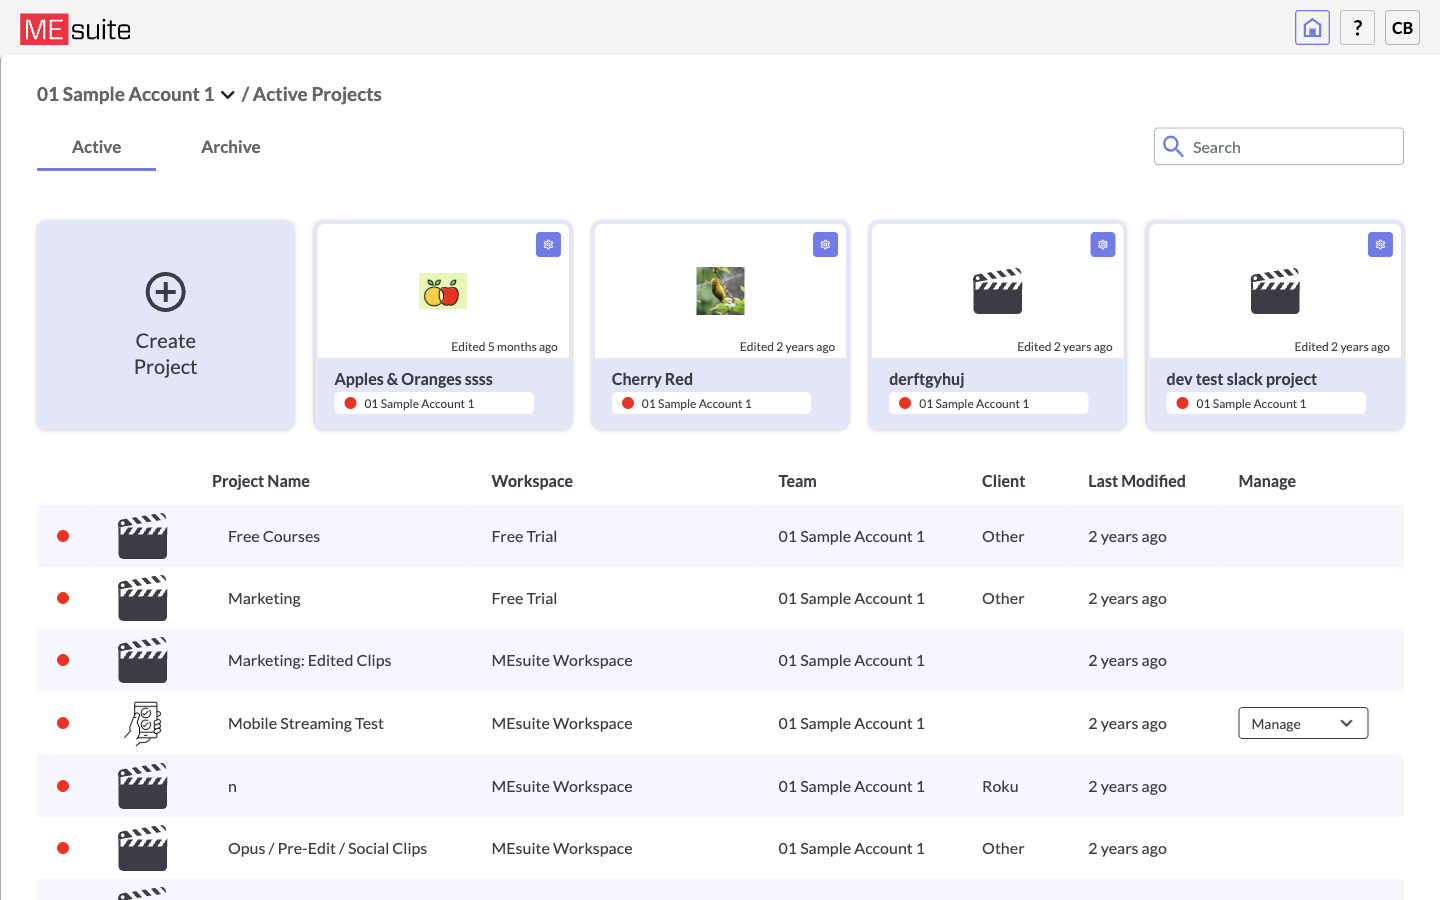
- On your home page, click the Create Project tile.
- Already inside a project? Click the project name at the top and choose Create Project at the bottom of the list.
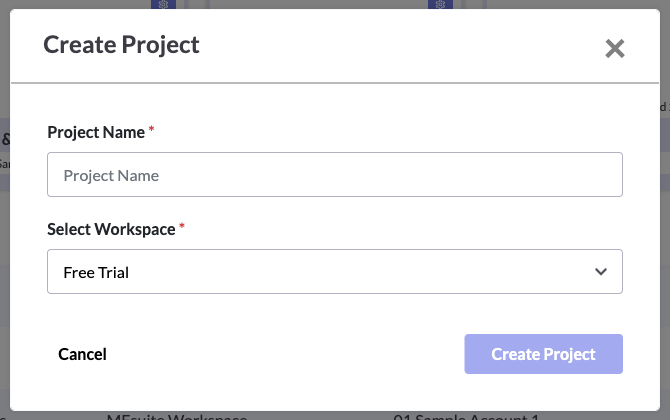
- Type a Project Name, for example "Golden Life S2".
- If asked, Select Workspace: the group this show belongs to, such as a network.
- Click Create Project.
- MEsuite offers to invite people right away. Add them now, or skip and do it later (see the next section).
To jump between projects, click the project name at the top of the screen. To switch workspaces or accounts, use the Workspaces icon at the bottom of the left sidebar.
Adding team members
Add people to a single project, or make someone a manager of the whole account.
To a project
- Open the project and click Contacts in the left sidebar, then Team.
- Click the + button.
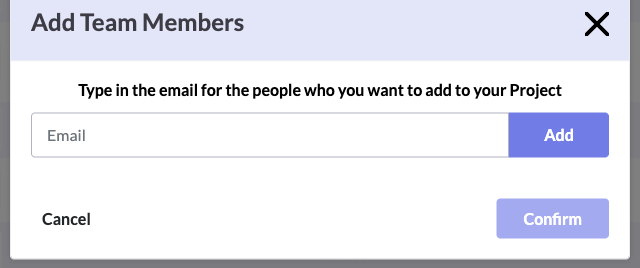
- Type an Email and click Add. Repeat for each person.
- Choose each person's permission level, then click Confirm.
To the whole account (Account Managers only)
- Click your initials in the top right, then Account Settings.
- Open the Account Managers tab and click + Add Managers.
- Type their Email, click Add, then Invite users.
What they get: an email invitation. New users click the link, set a password, and click Join. People who already use MEsuite see the invite on their home page and click Accept.
To change someone's level later, use Change Role on the Team page. To remove them, click Manage, then Delete.
Permission levels
There are three levels, and each reaches less than the one above it. You pick a level when you invite someone.
Give people the lowest level that lets them do their job. An Associate can pull reports and download contracts, but can't upload anything or build new contracts, so a field producer can't change your paperwork by accident.
SignMe
Read this first: import a PDF or build from a blank document
| Import a PDF | Create from a blank document Recommended | |
|---|---|---|
| Setup | Quick and easy: drop in your file | Slower: paste the text, format it, place the fields |
| How it looks | 100% identical to your lawyer's document | Your text, re-formatted in the SignMe editor |
| iOS mobile app | Not available (not compatible with the app at this time) | Available, including offline mode |
| Signing speed | Slower to load for signers | Faster |
Offline mode (iOS app only): when there's no signal on location, signed contracts are saved on the device and sync to the cloud once you're back online. Only blank-document contracts can use it.
You choose the method in step 1 of contract creation, under Select option.
Contract creation
Name the contract, choose how to build it (see Read this first), add your fields, and click Create. It's live right away. Only Account Managers and Project Managers can do this.
Open your project and click SignME in the left sidebar. Click the + button at the top right.
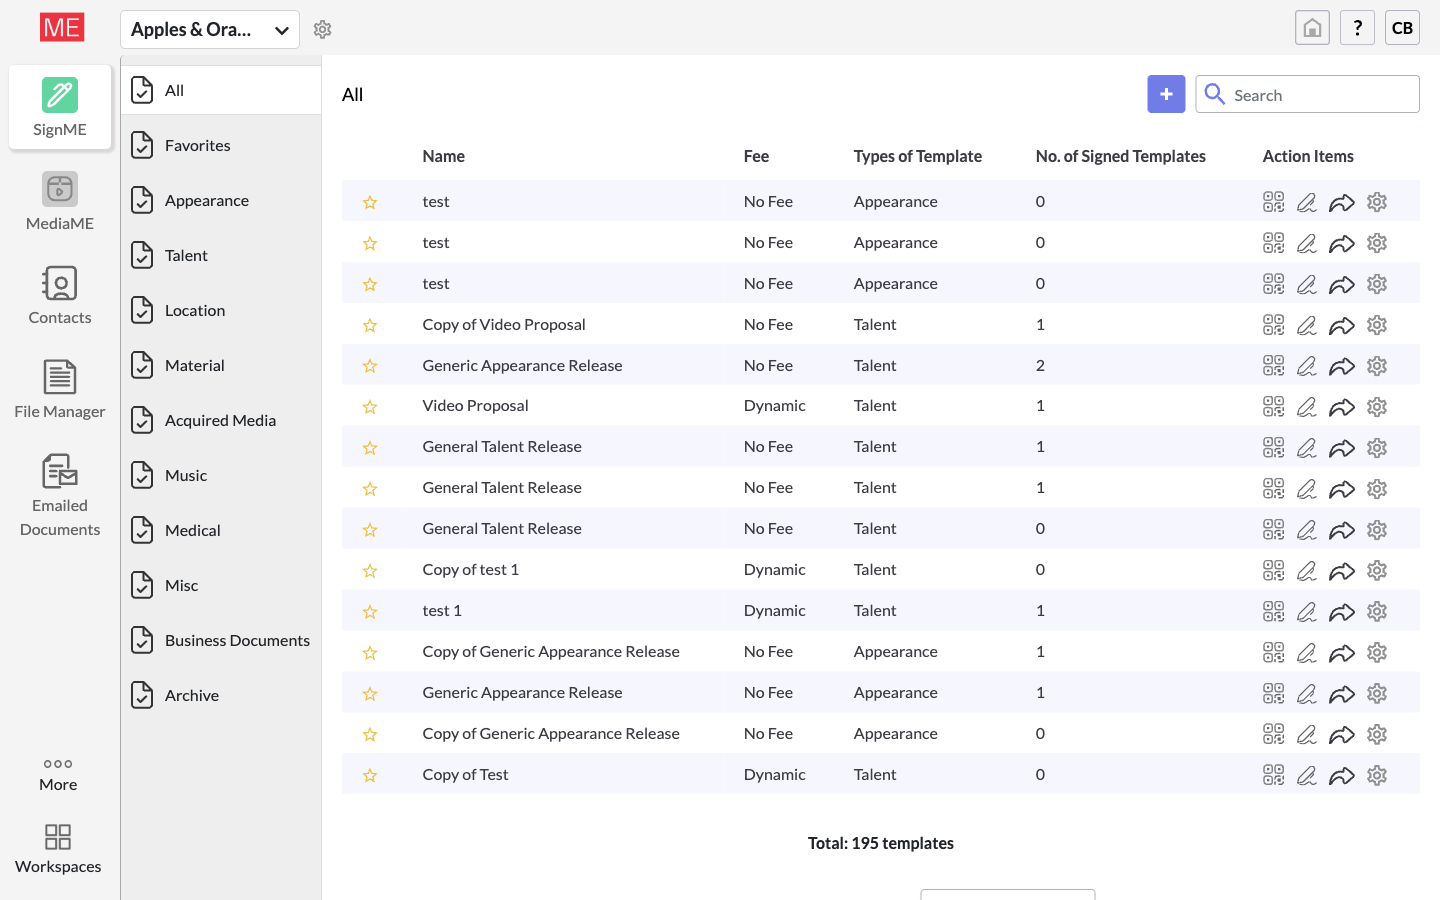
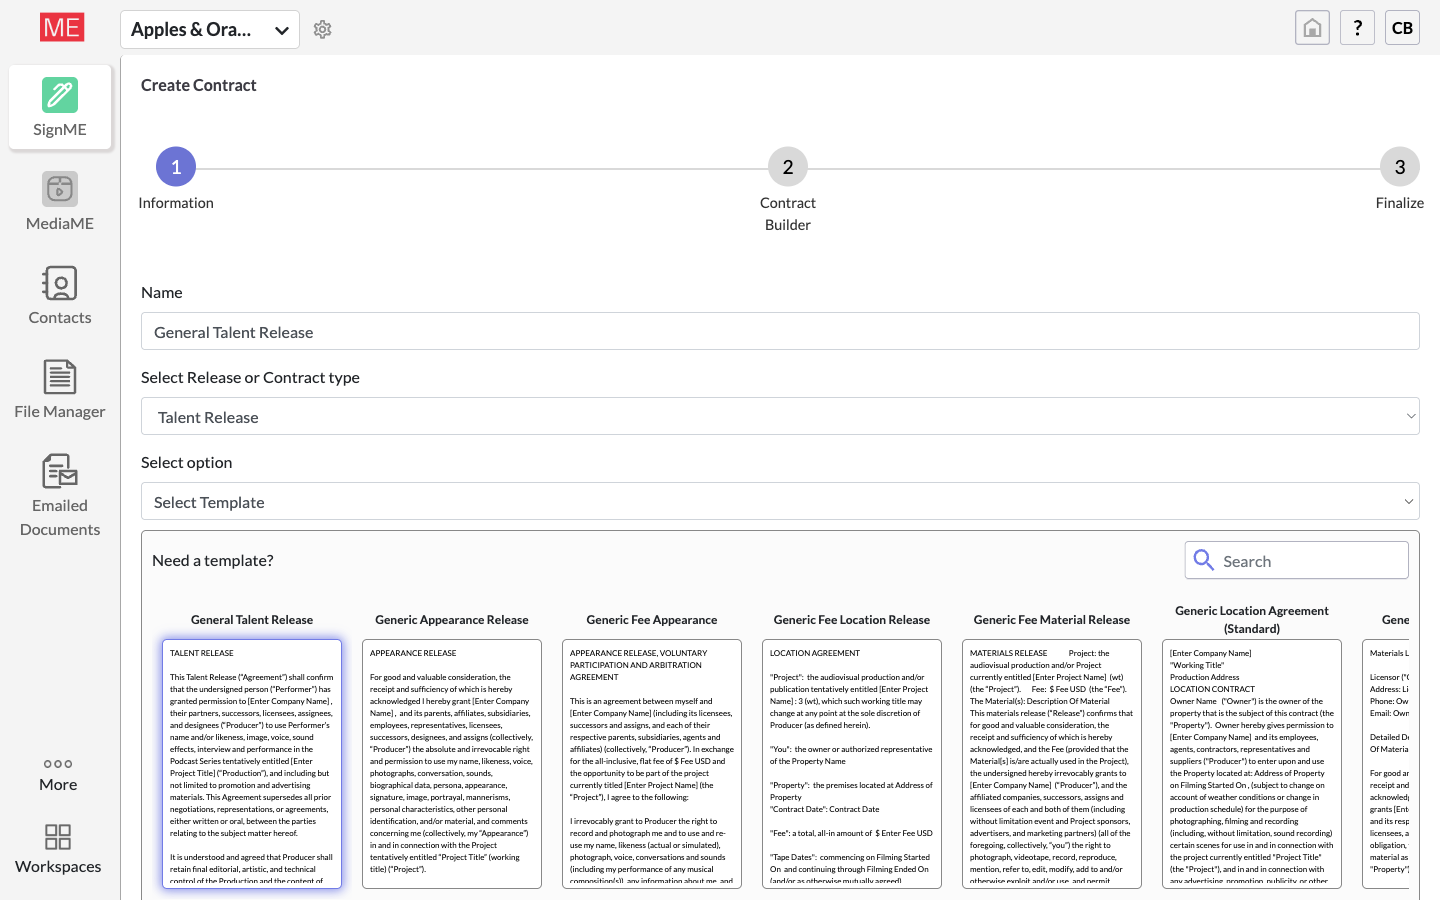
Step 1: Information
- Name: what your team will see, such as "Appearance Release: Standard".
- Select Release or Contract type: Appearance, Talent, Location, Material, Acquired Media, Music, Medical, Misc, or Business Documents.
- Select option: choose Create from a blank document (recommended), or Import Contract and drop in your PDF or Word file.
- Click Next.
Step 2: Contract Builder, if you chose a blank document
- Paste your contract text into the editor. Use the toolbar to fix headings, bold text, and spacing.
- Open a category on the right (Text, Signature, Date, Images, and more).
- Pick a field from -- Select Field Type -- and give it a Title.
- Drag it into the text where it belongs, or click in the text and then click Add.
- Click a placed field to change it (Confirm) or remove it (Delete).
- Click Next.
Step 2: Contract Builder, if you imported a PDF
- Wait for "We are processing the contract..." to finish.
- Open a category on the right (Text, Signature, Date, Images, Checkbox, and more) and drag each field onto the contract:
- Person Name on the name line
- Person Signature on the signature line
- Person Selfies (under Images) to capture the signer's photo
- Guardian Name and Guardian Signature for minors
- Click a placed field to rename it or make it required, then Save.
- Click Next.
Step 3: Finalize
- Optional: a welcome message signers see first, and a thank-you message after they submit.
- Optional: let signers email themselves a copy, make the contract Private (only Account Managers see it), or add a Smart Tag for sorting later.
- Click Create.
Contract signing
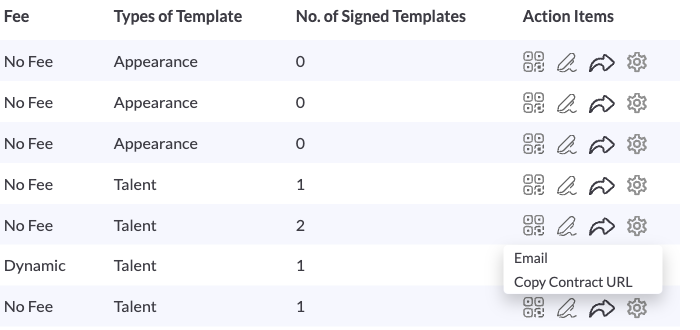
Every contract on the SignME page has three ways to get signatures, using the icons on its row: QR code, Share > Email, and Share > Copy Contract URL.
QR code (best on location)
- Click the QR Code icon. The QR image downloads immediately.
- Print it, put it on a tablet, or show it on your phone. Anyone who scans it can sign.
Email or link
- Click the Share icon, then choose Email or Copy Contract URL.
- For a link, paste it anywhere: a text, WhatsApp, or a call sheet.
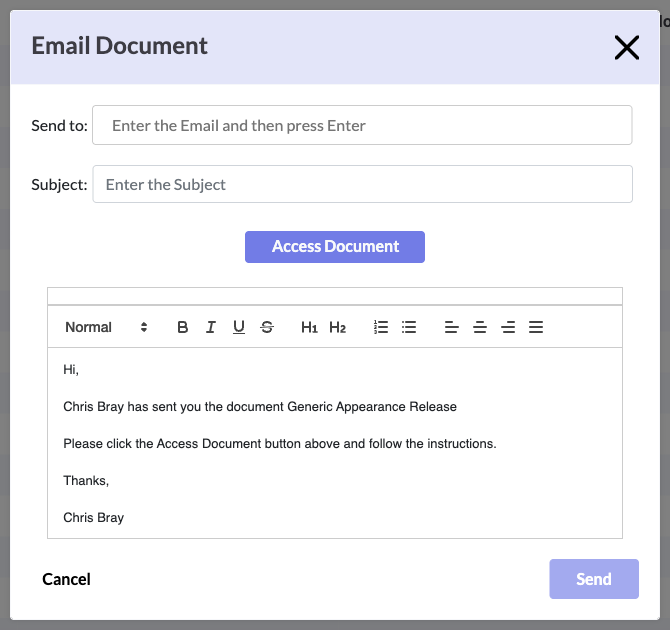
- For email, type each address in Send to and press Enter after each one. Add a Subject and an optional note, then click Send. They get an Access Document button that opens the contract.
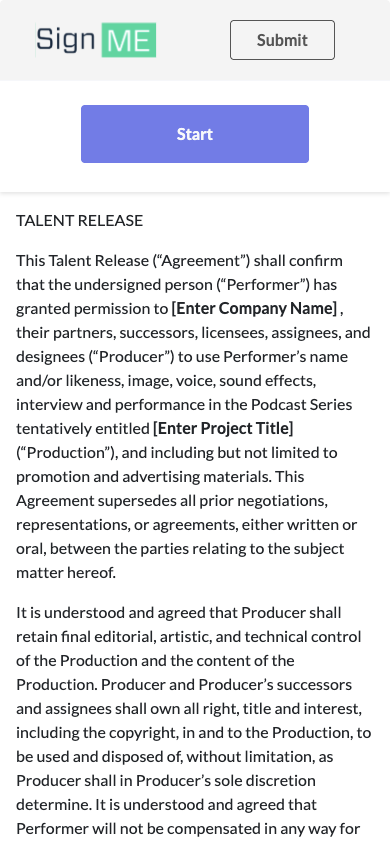
What the signer sees
- The contract and a big Start button.
- One field at a time: name, selfie, signature (drawn or typed), dates.
- When the required fields are done, they tap Submit at the top and get a confirmation with a Tracking ID.
Contract storage
Every signed contract lands in your project automatically. Click File Manager in the left sidebar, then Signed Documents. There's one tab per release type, with Filter, Order, and Search to find anything fast.

Download one contract: on its row, click Manage, then Download.
Download many at once:
- Tick the rows you want, or use Filter to narrow the list. With nothing ticked or filtered, you get everything.
- Click the download (cloud) button and choose Contracts (PDF) or Spreadsheet, then confirm.
- MEsuite prepares the files in the background. Pick them up in File Manager, then Downloads: click Manage, then Download.
One bulk download runs at a time, so let the first finish before starting another.
Signers who lost their copy can find it themselves at app.mesuite.com/#/download-signed-contract.
If something goes wrong
| Problem | What to do |
|---|---|
| A downloaded contract is a blank white page | Email support@mesuite.com with the person's name and project. We regenerate it; blanks are also fixed automatically every morning. |
| An uploaded contract shows garbled symbols | The PDF lost its fonts before it was uploaded. Re-export it from Word (File > Save As > PDF) and upload it again. |
| Invite or login emails don't arrive | Check spam and your company's quarantine, then contact support. |
| The login button seems to do nothing | Refresh the page and try again. If it keeps happening, email support with the address you're using. |